在推流拉流之前,需要搭建一个流媒体服务框架。这里建议使用ZLMediaKit:
一个基于C++11的高性能运营级流媒体服务框架
功能异常强大,官网上有Wiki
按照教程构建安装
推流拉流
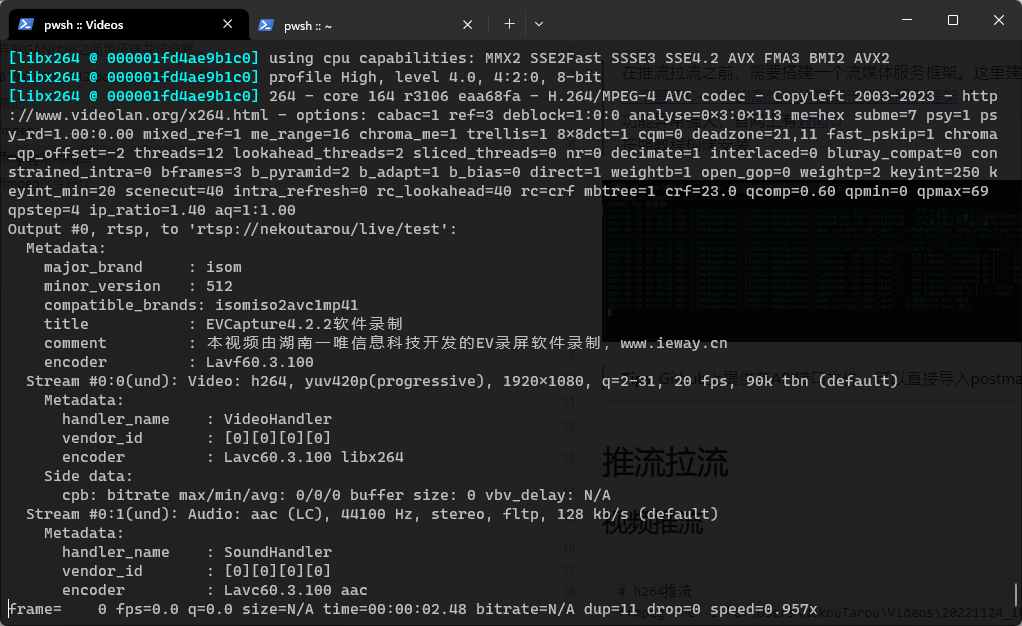
视频推流
# h264推流
ffmpeg -re -i "C:\Users\NekouTarou\Videos\20221124_101116.mp4" -vcodec h264 -acodec aac -f rtsp -rtsp_transport tcp rtsp://nekoutarou/live/test
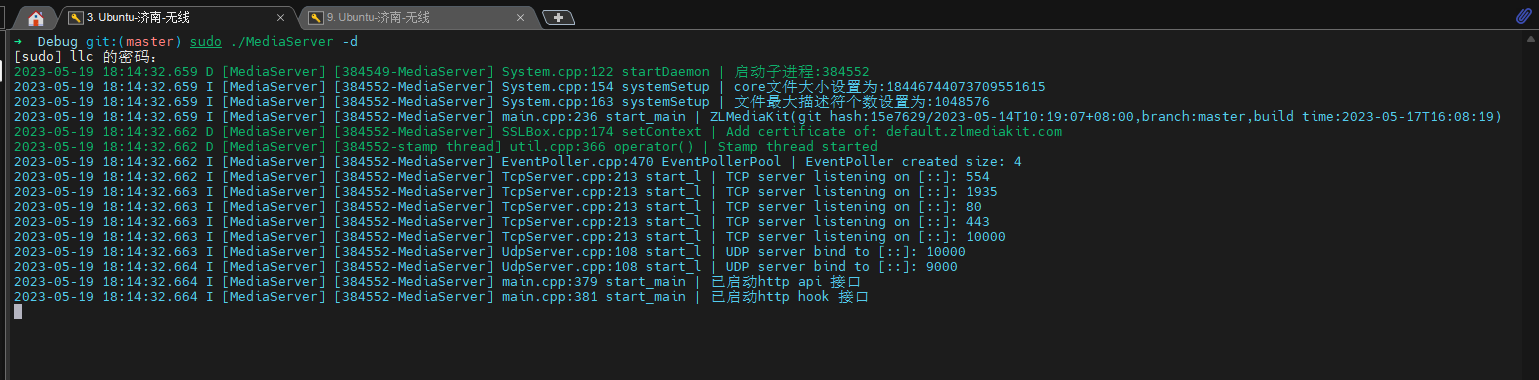
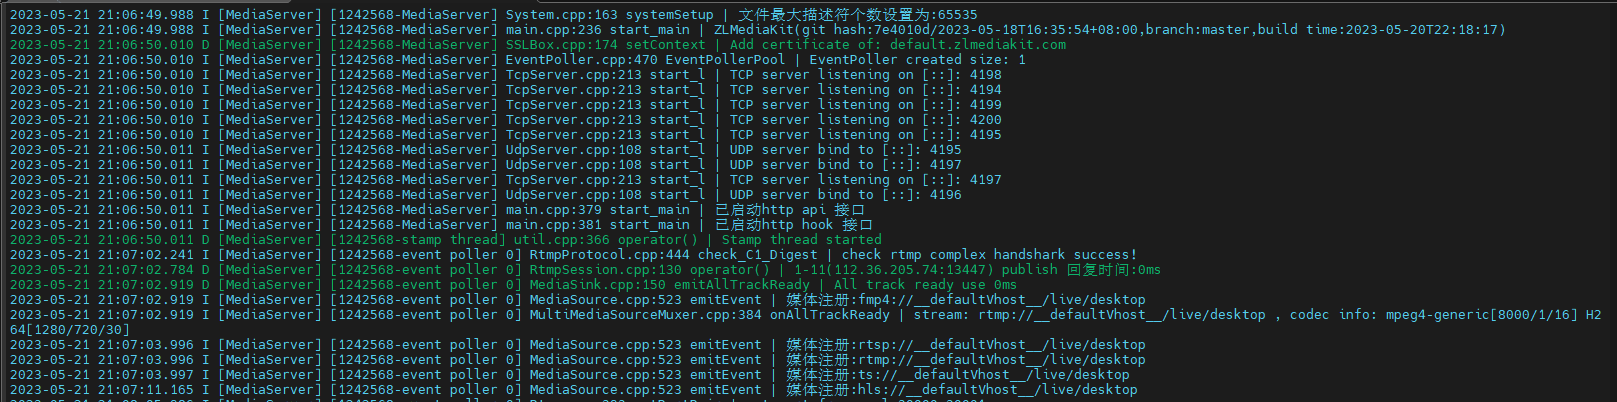
服务端会打印相应的日志,注意最后几行打印的信息,支持不同协议,但是端口页需要做相应 的调整,具体配置在服务端的config.ini中
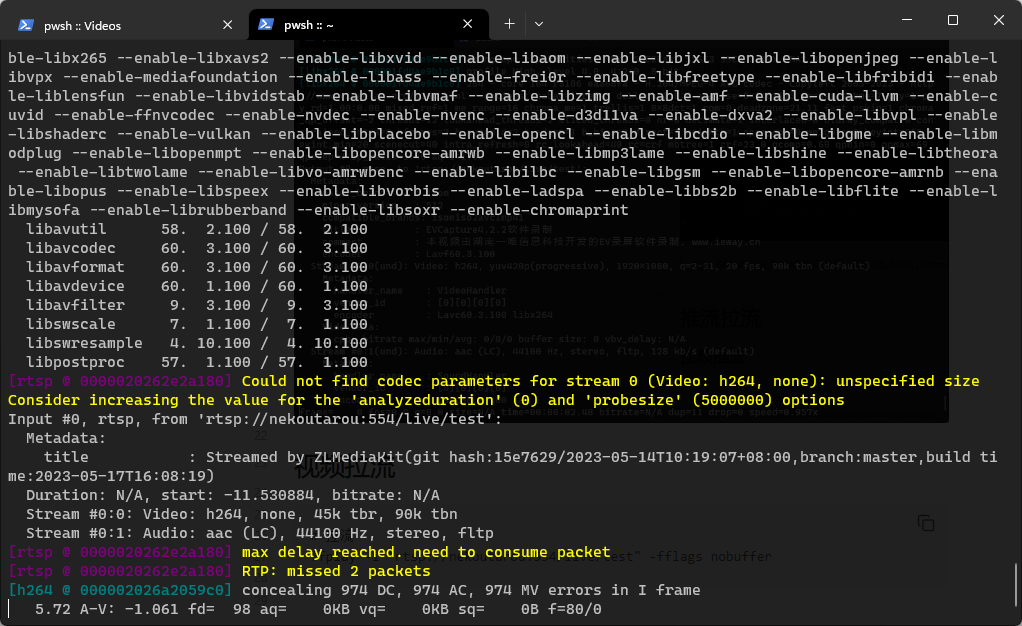
视频拉流
# 拉流
ffplay -i "rtsp://nekoutarou:554/live/test" -fflags nobuffer
桌面推流
ffmpeg -f gdigrab -i desktop -vcodec libx264 -s 1280x720 -r 30 -b 1m -f flv rtmp://nekoutarou/live/desktop
桌面拉流
ffplay -i "rtsp://nekoutarou:554/live/desktop" -fflags nobuffer
桌面捕捉时各系统参数不同,需要时再查
Mac操作
FFmpeg在OS X设备操作
在FFmpeg中采集OS X系统的输入输出设备,常规方式采用的是OS X的avfoundation设备进行采集,它的参数如下
list_devices:列举当前可用设备信息
video_device_index:视频设备索引编号
audio_device_index:音频设备索引编号
pixel_format:色彩格式,例如yuv420,nv12等
framerate:帧率
video_size:图像分辨率
capture_cursor:获取屏幕上鼠标图像
capture_mouse_clicks:获取屏幕上鼠标点击的事件
OS X下查看设备列表
ffmpeg -devices
llc ~ ffmpeg -devices
ffmpeg version 6.0 Copyright (c) 2000-2023 the FFmpeg developers
built with Apple clang version 14.0.0 (clang-1400.0.29.202)
configuration: --prefix=/usr/local/ffmpeg --enable-shared --disable-static --enable-gpl --enable-nonfree --enable-libfdk-aac --enable-libx264 --enable-libx265
libavutil 58. 2.100 / 58. 2.100
libavcodec 60. 3.100 / 60. 3.100
libavformat 60. 3.100 / 60. 3.100
libavdevice 60. 1.100 / 60. 1.100
libavfilter 9. 3.100 / 9. 3.100
libswscale 7. 1.100 / 7. 1.100
libswresample 4. 10.100 / 4. 10.100
libpostproc 57. 1.100 / 57. 1.100
Devices:
D. = Demuxing supported
.E = Muxing supported
--
E audiotoolbox AudioToolbox output device
D avfoundation AVFoundation input device
D lavfi Libavfilter virtual input device
E sdl,sdl2 SDL2 output device
D x11grab X11 screen capture, using XCB
示例
1、查看设备支持的输入设备
ffmpeg -f avfoundation -list_devices true -i ""
llc ~ ffmpeg -f avfoundation -list_devices true -i ""
ffmpeg version 6.0 Copyright (c) 2000-2023 the FFmpeg developers
built with Apple clang version 14.0.0 (clang-1400.0.29.202)
configuration: --prefix=/usr/local/ffmpeg --enable-shared --disable-static --enable-gpl --enable-nonfree --enable-libfdk-aac --enable-libx264 --enable-libx265
libavutil 58. 2.100 / 58. 2.100
libavcodec 60. 3.100 / 60. 3.100
libavformat 60. 3.100 / 60. 3.100
libavdevice 60. 1.100 / 60. 1.100
libavfilter 9. 3.100 / 9. 3.100
libswscale 7. 1.100 / 7. 1.100
libswresample 4. 10.100 / 4. 10.100
libpostproc 57. 1.100 / 57. 1.100
[AVFoundation indev @ 0x7f8195104700] AVFoundation video devices:
[AVFoundation indev @ 0x7f8195104700] [0] FaceTime HD Camera
[AVFoundation indev @ 0x7f8195104700] [1] Capture screen 0
[AVFoundation indev @ 0x7f8195104700] AVFoundation audio devices:
[AVFoundation indev @ 0x7f8195104700] [0] Built-in Microphone
2、可以看到视频和音频的设备编号,使用编号推流(-i参数),将采集信息推送到服务器上
ffmpeg -f avfoundation -i "1" -vcodec libx264 -s 1280x720 -r 30 -b 1m -f flv rtmp://Ubuntu/live/desktop

# 这个命令采集的界面太大了
ffmpeg -f avfoundation -pixel_format uyvy422 -i 1:0 -vcodec libx264 -preset ultrafast -acodec libmp3lame -f flv rtmp://Ubuntu/live/desktop
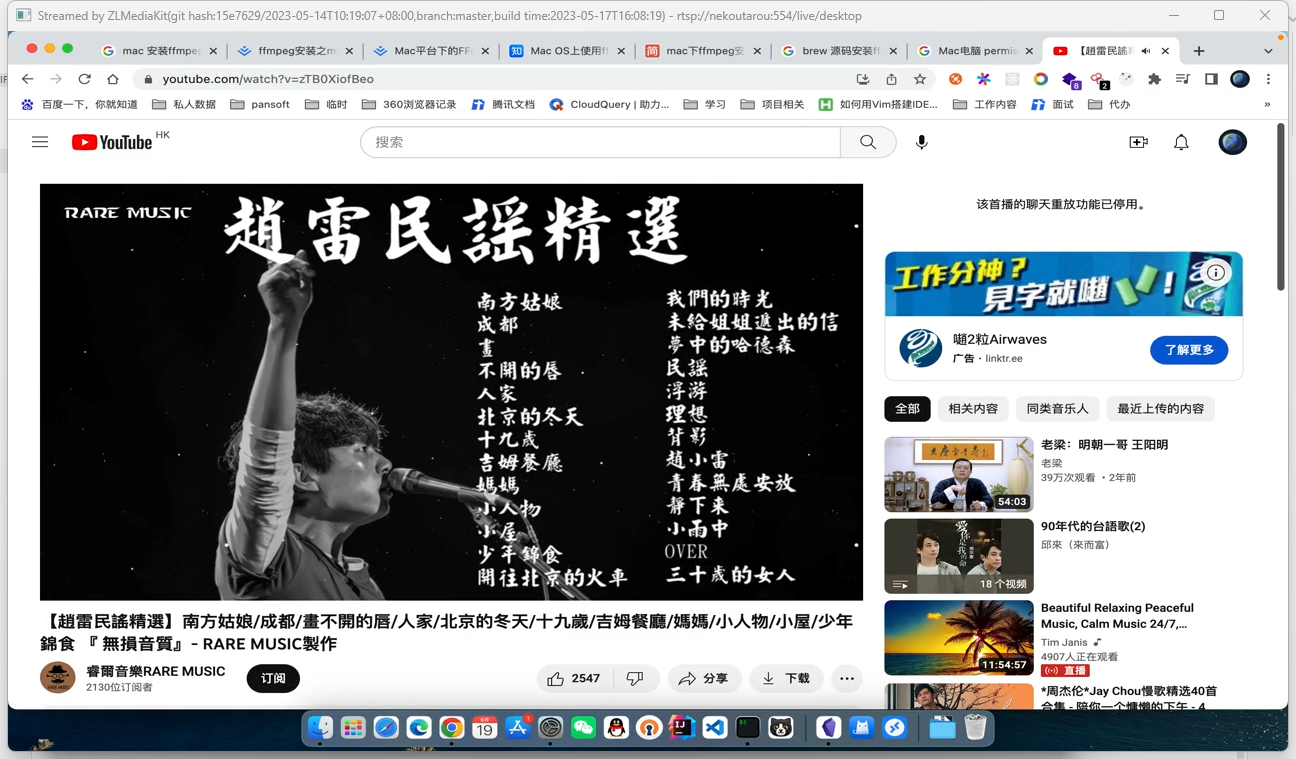
3、拉流,在客户端(Window)执行命令从服务端拉流。注意下协议和端口
ffplay -i "rtsp://nekoutarou:554/live/desktop" -fflags nobuffer
或者
ffplay -i "rtmp://39.98.33.160:4194/live/desktop" -fflags nobuffer
效果如下
问题:1、目前声音采集还有问题
https://www.jianshu.com/p/8a242e60f464 这个文章里面提到无法使用内置麦克,需要安装其他软件收录。服务器上控制台也打印了日志
· 2023-05-19 20:05:25.429 W [MediaServer] [384552-event poller 0] Factory.cpp:252 getAudioCodecIdByAmf | 暂不支持该音频Amf:1
2、延迟比较严重,有三四秒
后面考虑优化